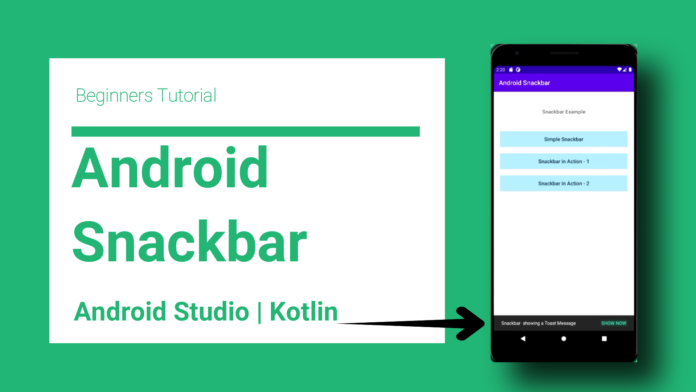
We usually use Snackbar widget to show a small popup message or information. Snackbar in android is a widget introduced with the Material Design library. Android Snackbar will be displayed at the bottom of the mobile screen.
Snackbars can also offer the ability to perform an action, such as undoing an action that was just taken, or retrying an action that had failed.
In this tutorial you will learn the following:
★ Simple Snackbar Message
★ Snackbar in an Action
Table of contents:
1. Create a New Project:
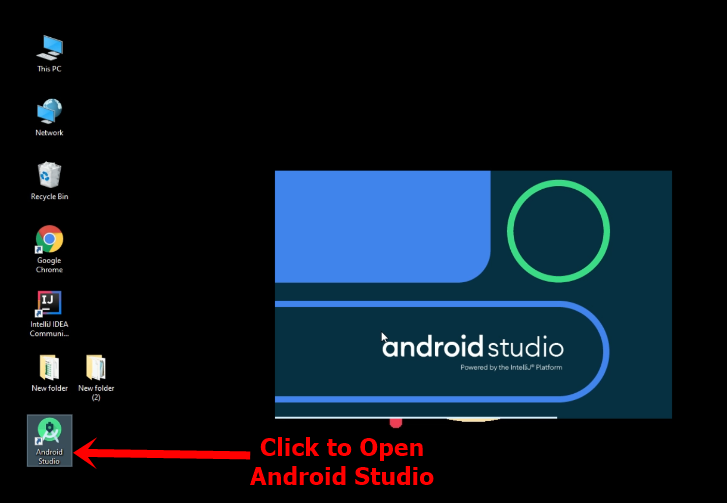
This is a beginner’s guide, so first create a new Android Studio Project. Click on the Android Studio Icon from the Computer and create your project with necessary information.

2. Add Dependencies:
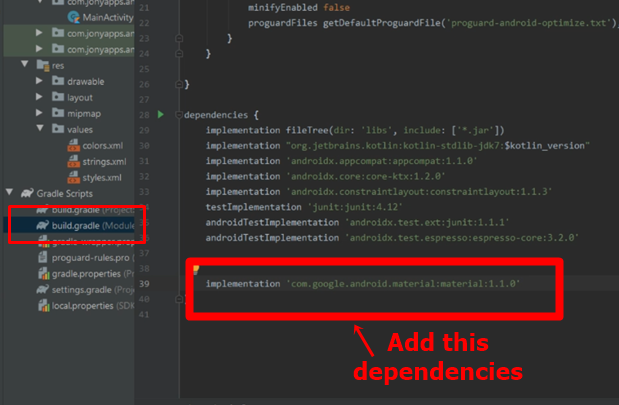
Add below dependencies at the build.gradle file. Don’t forget to synchronized after adding the dependencies.
build.gradle(:app)
implementation 'com.google.android.material:material:1.1.0'
3. Add XML code:
Now we need some buttons to show Snackbar Message. Copy and paste below xml codes to the activity_main.xml file.
<?xml version="1.0" encoding="utf-8"?>
<LinearLayout
    xmlns:android="http://schemas.android.com/apk/res/android"
    xmlns:app="http://schemas.android.com/apk/res-auto"
    xmlns:tools="http://schemas.android.com/tools"
    android:layout_width="match_parent"
    android:layout_height="match_parent"
    android:orientation="vertical"
    android:id="@+id/linerLayout"
    tools:context=".MainActivity">

    <TextView
        android:layout_marginTop="50dp"
        android:layout_width="wrap_content"
        android:layout_height="wrap_content"
        android:layout_gravity="center"
        android:textStyle="bold"
        android:textSize="16sp"
        android:text="Snackbar Example" />
    <Button
        android:id="@+id/button_1"
        android:layout_marginTop="50dp"
        android:layout_marginStart="20dp"
        android:layout_marginEnd="20dp"
        android:background="#b3e5fc"
        android:textAllCaps="false"
        android:textSize="16sp"
        android:layout_width="match_parent"
        android:layout_height="wrap_content"
        android:text="Simple Snackbar"/>
    <Button
        android:id="@+id/button_2"
        android:layout_marginTop="20dp"
        android:layout_marginStart="20dp"
        android:layout_marginEnd="20dp"
        android:background="#b3e5fc"
        android:textAllCaps="false"
        android:textSize="16sp"
        android:layout_width="match_parent"
        android:layout_height="wrap_content"
        android:text="Snackbar in Action -1"/>
    <Button
        android:id="@+id/button_3"
        android:layout_marginTop="20dp"
        android:layout_marginStart="20dp"
        android:layout_marginEnd="20dp"
        android:background="#b3e5fc"
        android:textAllCaps="false"
        android:textSize="16sp"
        android:layout_width="match_parent"
        android:layout_height="wrap_content"
        android:text="Snackbar in Action -2"/>
</LinearLayout>
4. Create 2nd Activity:
Now create a new Activity from your project. We will add an action to the Snackbar message. When you will click on the Snackbar Action button the second activity will open.

5. Add Code:
Copy below codes and paste into your MainActivity.kt file. When button will be clicked the Snackbar message will be shown.
mainActivity.kt
package com.jonyapps.androidsnackbar
import android.content.Intent
import android.graphics.Color
import androidx.appcompat.app.AppCompatActivity
import android.os.Bundle
import android.widget.Toast
import com.google.android.material.snackbar.Snackbar
import kotlinx.android.synthetic.main.activity_main.*

class MainActivity : AppCompatActivity() {

    override fun onCreate(savedInstanceState: Bundle?) {
        super.onCreate(savedInstanceState)
        setContentView(R.layout.activity_main)

        button_1.setOnClickListener {
            Snackbar.make(
                linerLayout,
                "This is Snackbar Message",
                Snackbar.LENGTH_LONG
            ).show()
        }

        button_2.setOnClickListener {
            Snackbar.make(
                linerLayout,
                "Snackbar- showing a Toast Message",
            Snackbar.LENGTH_LONG
            ).setAction(
                "Show Now"
            ){
                Toast.makeText(applicationContext,
                    "An Action Showing!",
                    Toast.LENGTH_SHORT).show()
                linerLayout
            }.show()
        }

        button_3.setOnClickListener {
            val snackbar = Snackbar.make(
                linerLayout,
                "This is a snack bar.",
                Snackbar.LENGTH_INDEFINITE
            )
            snackbar.setAction("Next") {
                val intent = Intent(this,
                    Main2Activity::class.java)
                startActivity(intent)
                snackbar.dismiss()
            }
            snackbar.show()
        }
        }
    }
6. Run the Emulator:
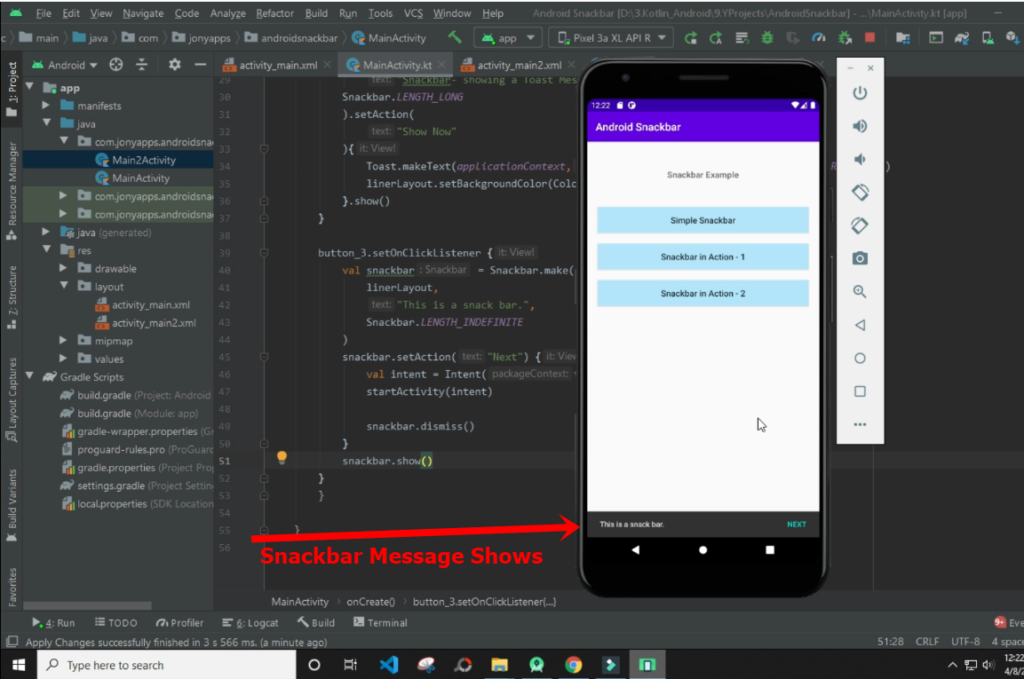
So, at the last, run the Emulator and test you app with the Android Virtual Device. It is done and working. Through this, you can create Snackbar message inside the Android App.

Watch Youtube Tutorial:
Video Link:
https://www.youtube.com/watch?v=PQP3xTlaSRE
If you have any comments, please post below.

